

Flutter Onboarding Screen
WITH LESS THAN 100 LINES OF CODE


Hello to coders, flutter developers and programmers
 Welcome to the first episode of "THE FLUTTER SERIES" so sit back and relax because

Since this is our first episode, how about we make onboarding screen in less than 100 lines of code using flutter, Yes! i said it, it is going to take less than 100 lines of code, Dont believe me then let us get into it.
When we are done we are going to produce what you are seeing in the video below %[youtu.be/CzrJAM6bl4I]
THE ONLY PREREQUISITE IS THAT YOU HAVE FLUTTER INSTALLED IN YOUR SYSTEM AND USE AN CODE EDITOR/IDE THAT SUPPORTS FLUTTER AND DART PLUGIN, I WOULD RECOMMEND VISUAL STUDIO CODE
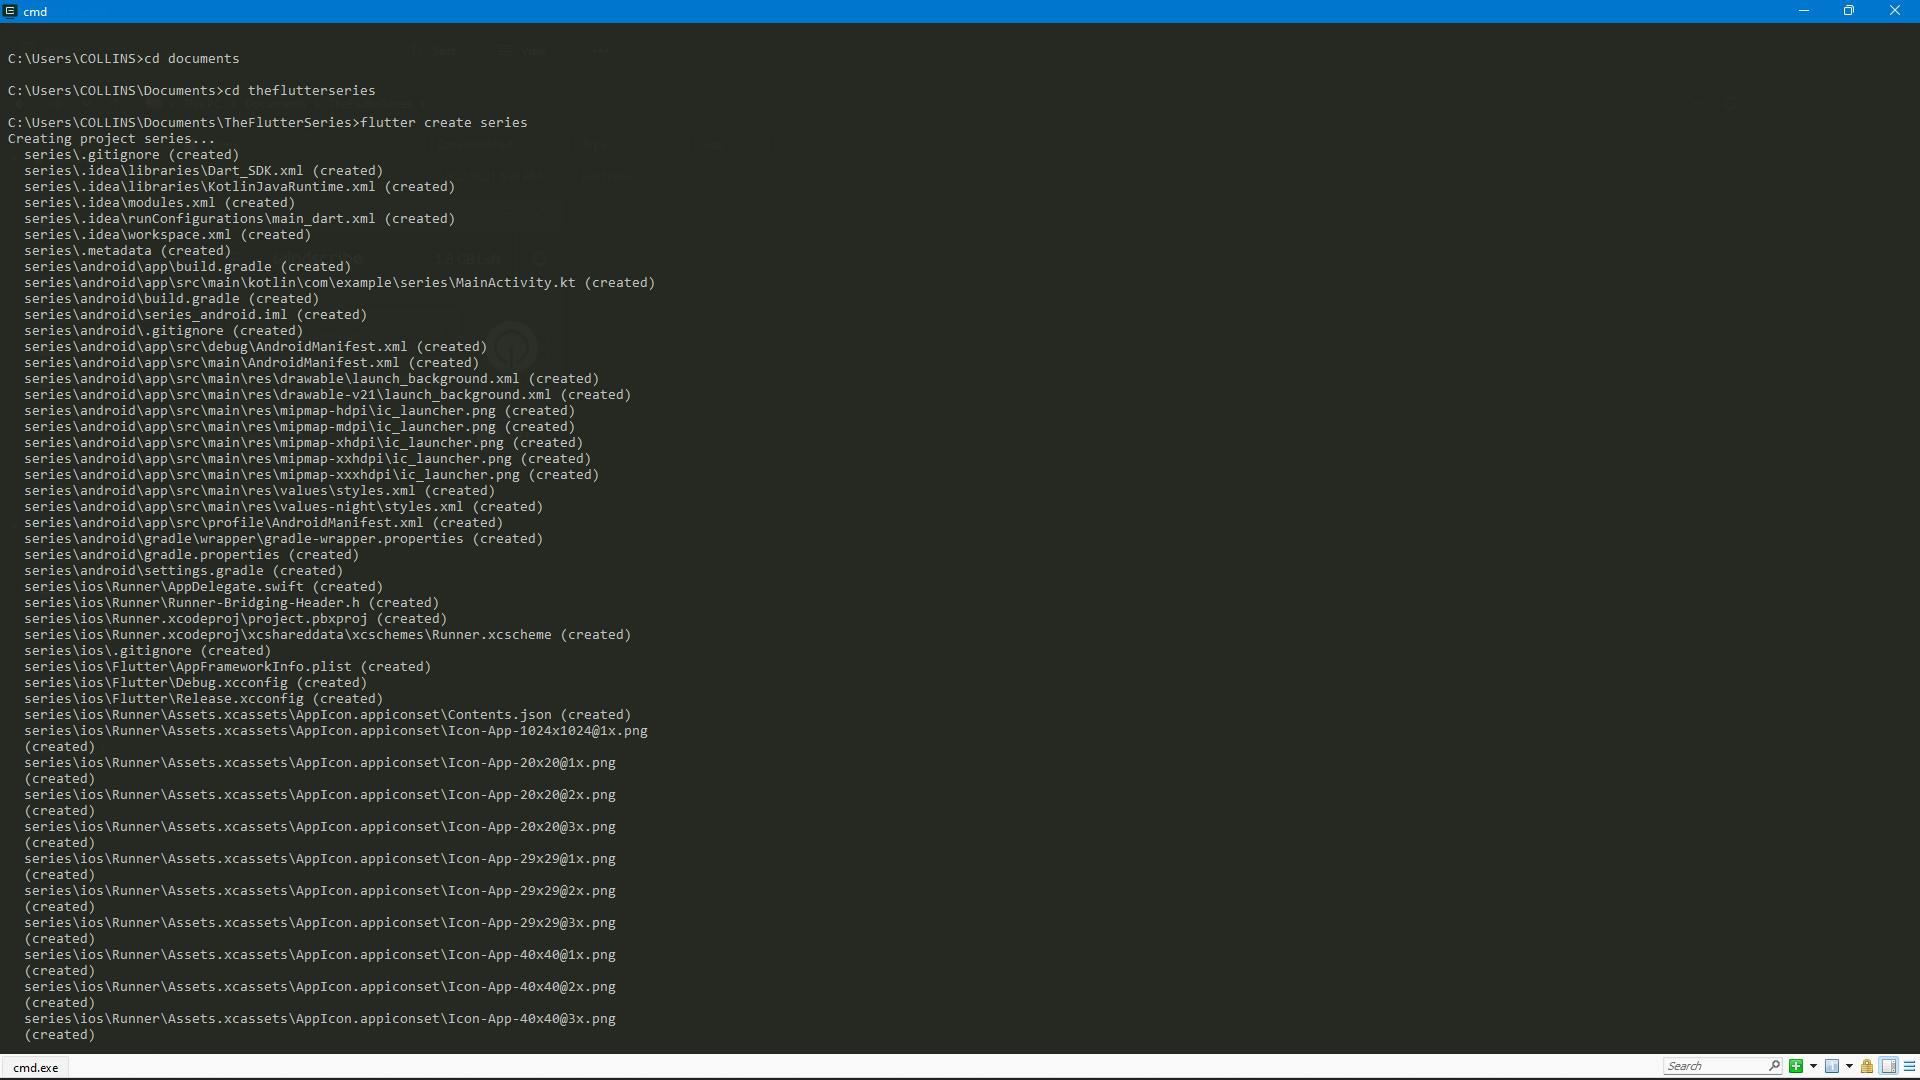
First and foremost we are going to create a new project in flutter called series, all you have to do is open your command prompt and type in the following code
flutter create series then your command prompt is going to produce something similar to the image below
if you have done this, Congratulations are in order, it isn't an easy feat and if you have tried the above code and it keep loading, i would advice you to use a vpn when creating the project as some locations seem to be having issues accessing the pub.dartlang.org until they use vpn
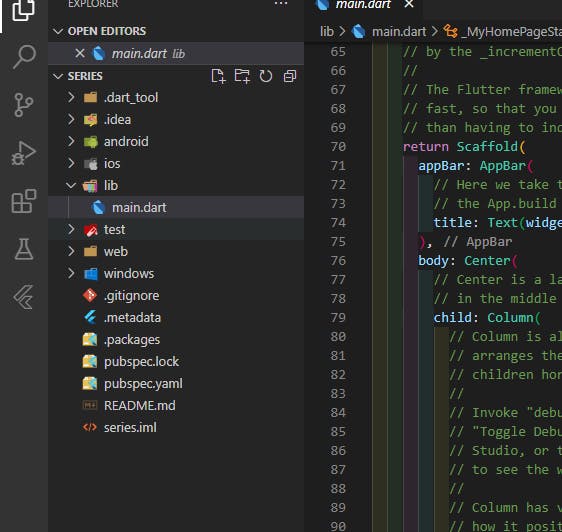
Now you have finished creating your project, it is time to dig in and start the dirty work, Open the project folder in your CODE EDITOR, navigate to the lib folder and click on the main.dart file
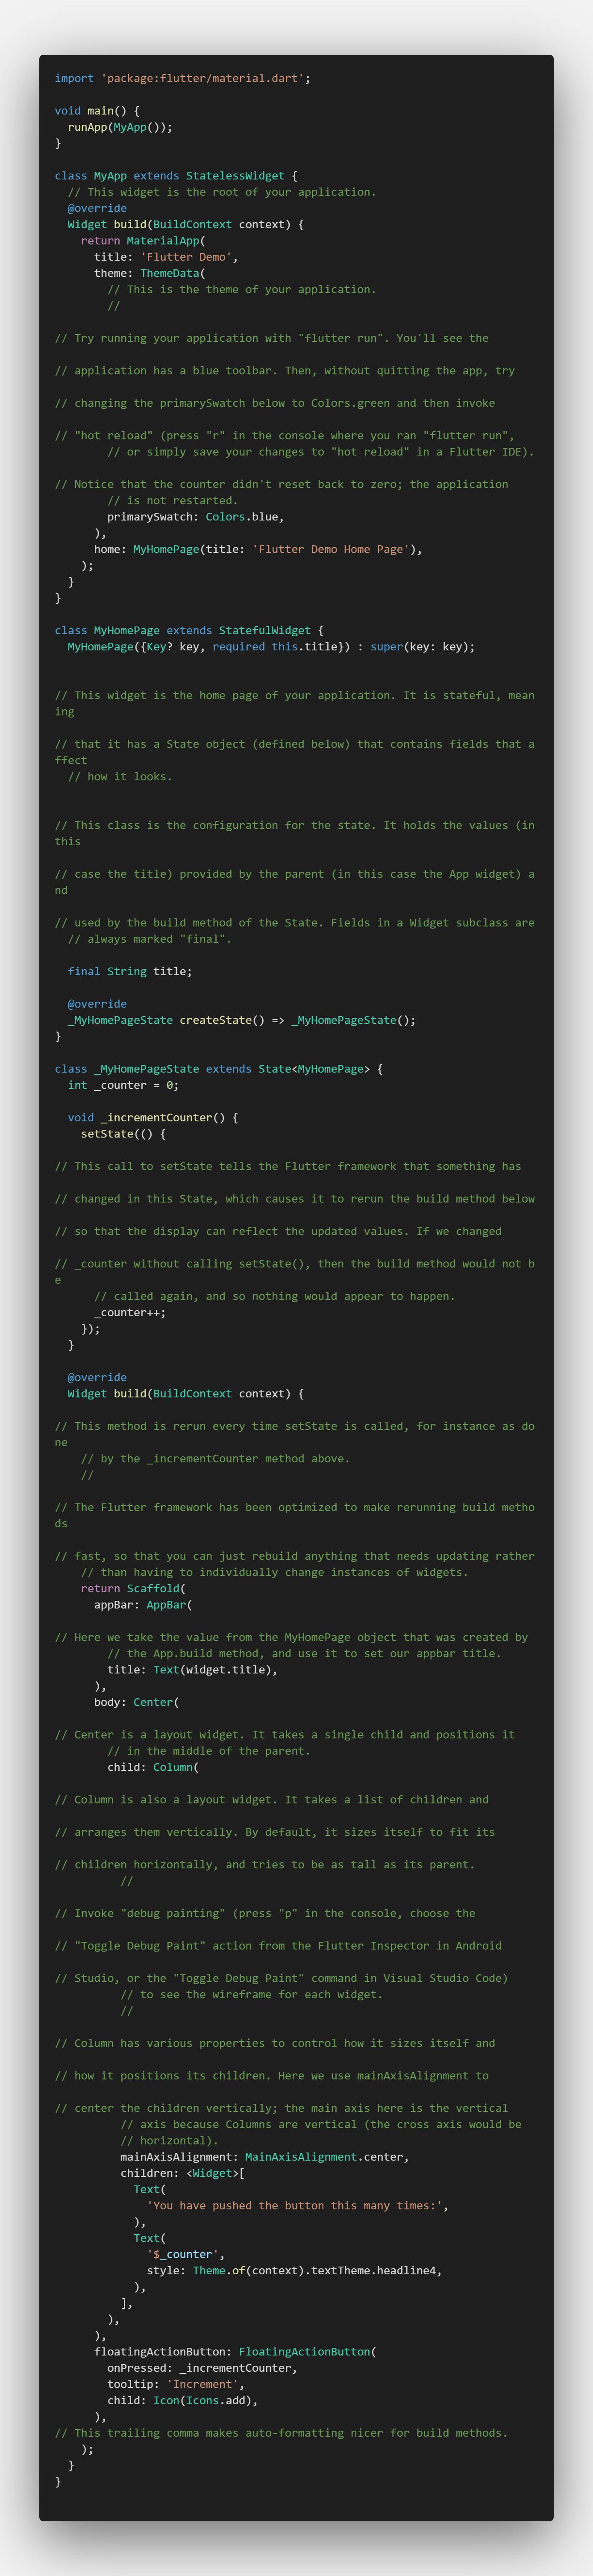
The initial code that will be shown when you open the main.dart will look like this
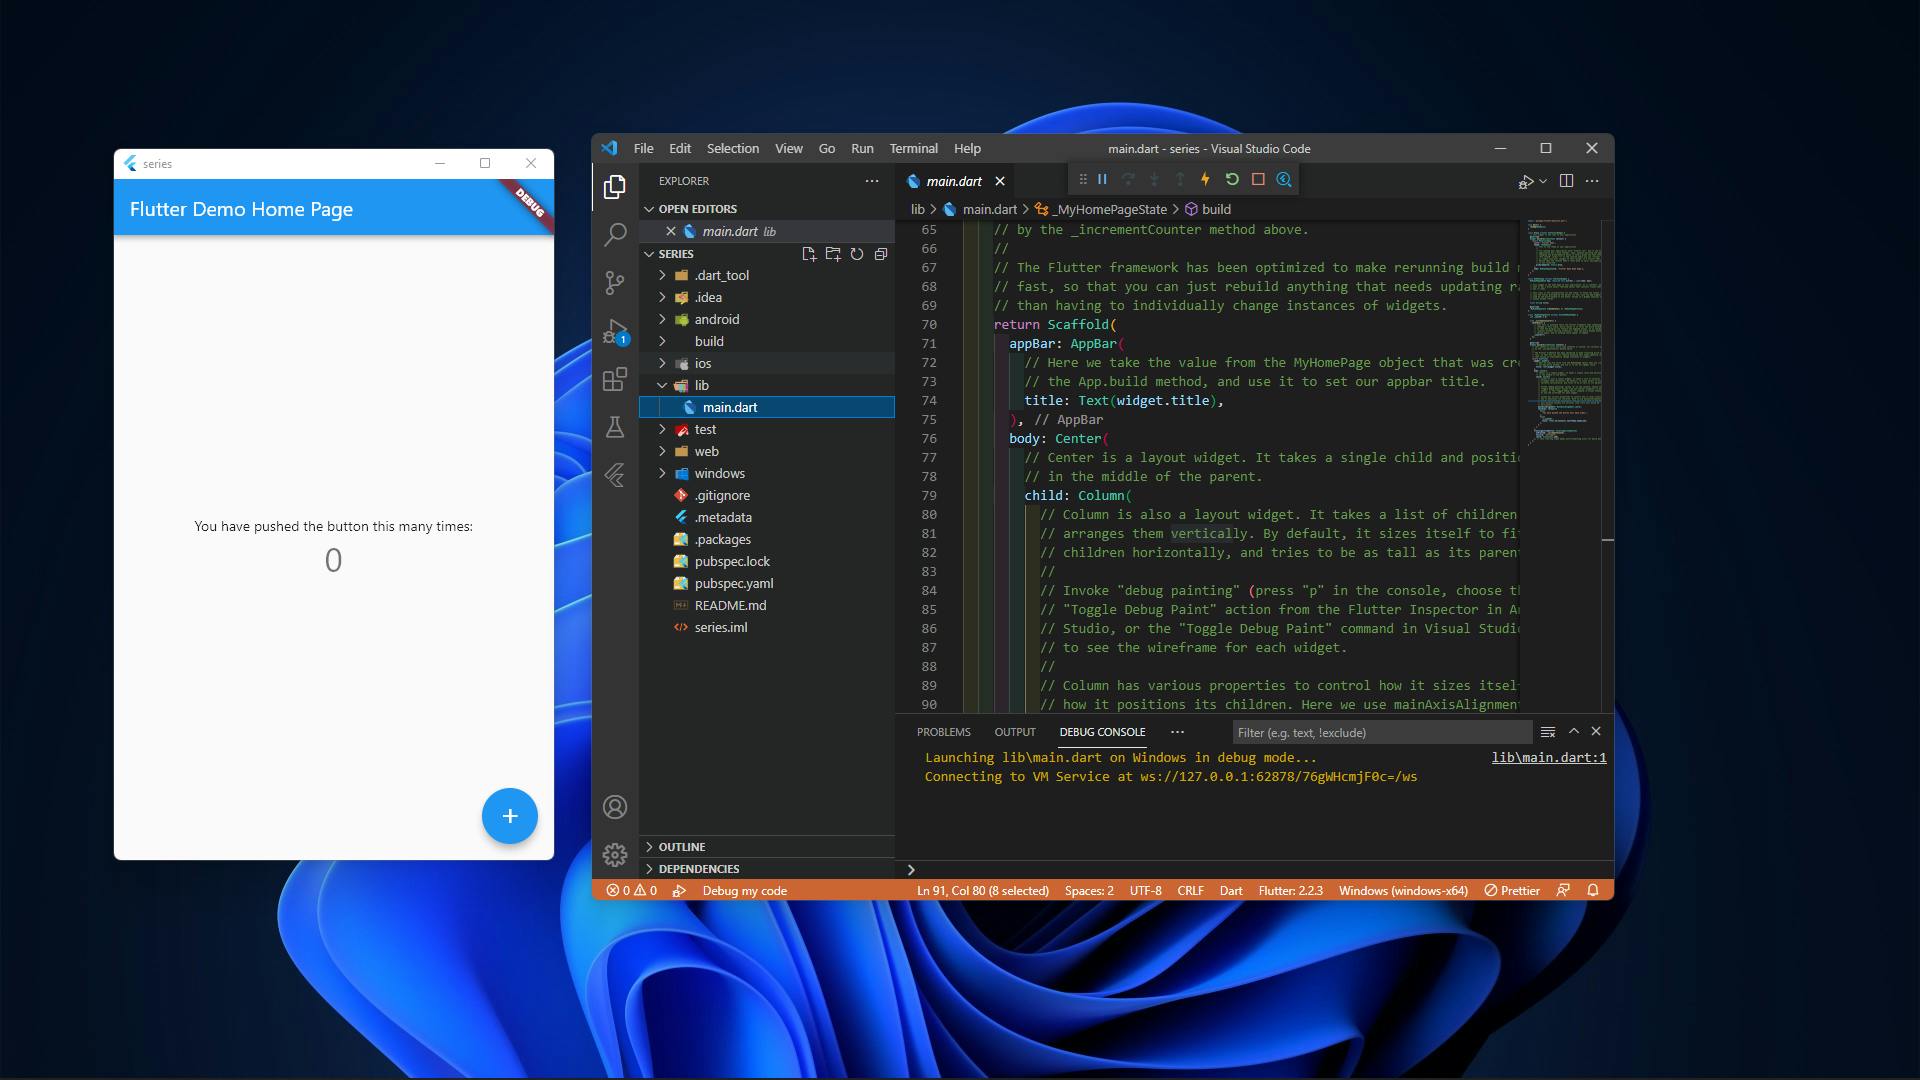
if you have this you should run tthe file with either a physical device, browser, emulator or windows if it is enabled, i recommend windows or physical device like your phone to avoid lagging of your system, i mean why emulate what you have
when you are running the file for the first time it is crucial that your system is connected to the internet as it is going to download the dependencies needed for the first time
Note: you only have to do this once and after that you can run the file without internet connection.
When you run the file it would show you an app like the one below
Now that is a starter page prefilled app but it is not what we want to do so i cleaned everything in the main.dart file and added the code for the onboarding screen. Now i am going to drop the link to the github repository that has the code but i am still going to explain how it works
How Does the Code Work
CREATING A STATFULWIDGET CLASS FOR THE MATERIAL HOME
we start by creating a stateful widget class called Onboard and then add the Onboard() class to the home section inside our MaterialApp in the MyApp class above it
Creating the Controller and initializing it before the page loads
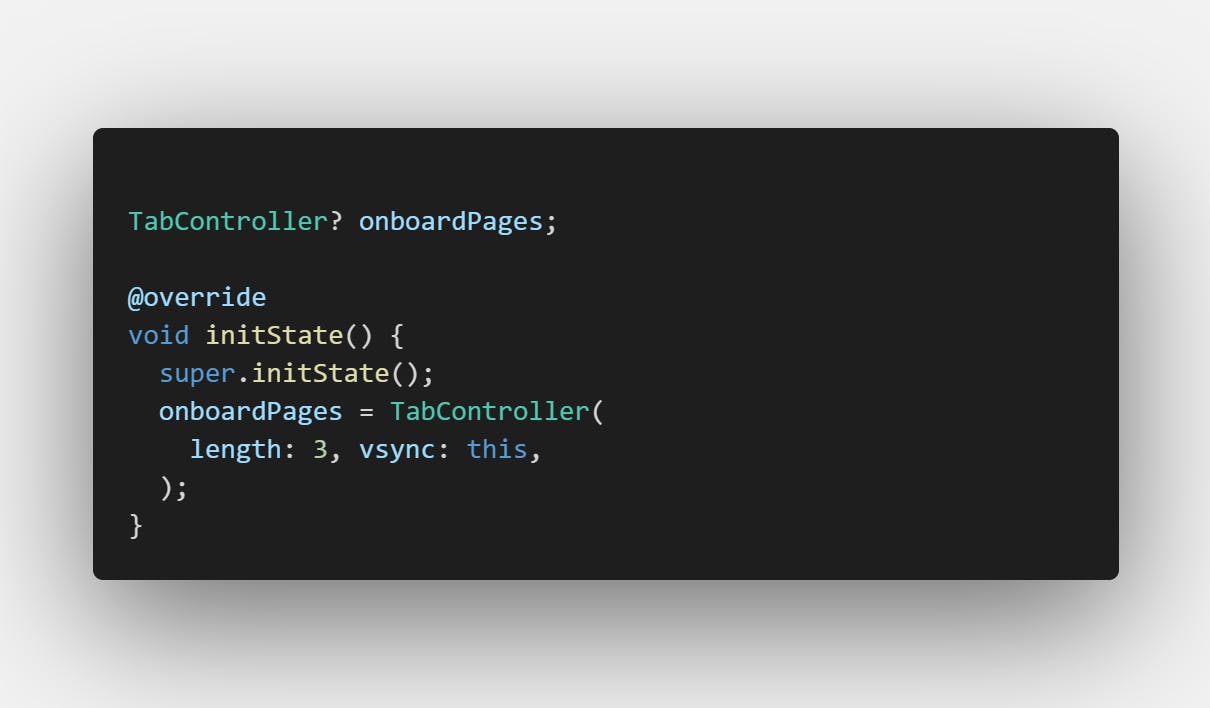
The tabpage selector works with a controller hence we would need to create a TabController variable and in our case it is called onboardPages
the next thing to do is to initialize the controller before the page loads to avoid red screen errors. we use the second section of the image below to initialize the tabcontroller
now you might be wondering what length and vsync means
Length
The length is defined in our example but for future reference i could explain how you can define the length you want from your Api so it is gotten from your database but in essence the length is telling how many pages will be in the onboarding screen, in our example it says 3 which mean our onboarding screen will only have 3 pages
you can forget about vsync for now, just leave it as it is.
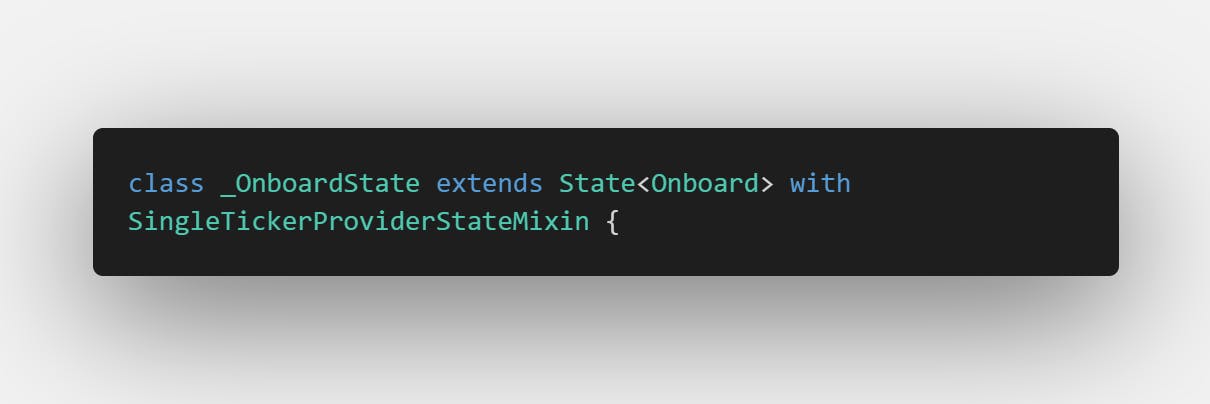
Now a common mistake people make when doing things like this that involve animations in flutter is that they forget to add the singletickerprovidermixin which is required for animations.
Failure to add the SingleTickerProviderMixin will cause you to have one of the following error
- expected an identifier after the vsync line of code
- code cant run without SingleTickerProviderMixin
How to add SingleTickerMixin to our class
Making the Tabview and TabPageSelector widget inside of a Column widget
Our app is going to show two thing
- The onboarding screen details/image/text. in our first episode we are going to use text but in episode 2 i will introduce you guys to something next level.
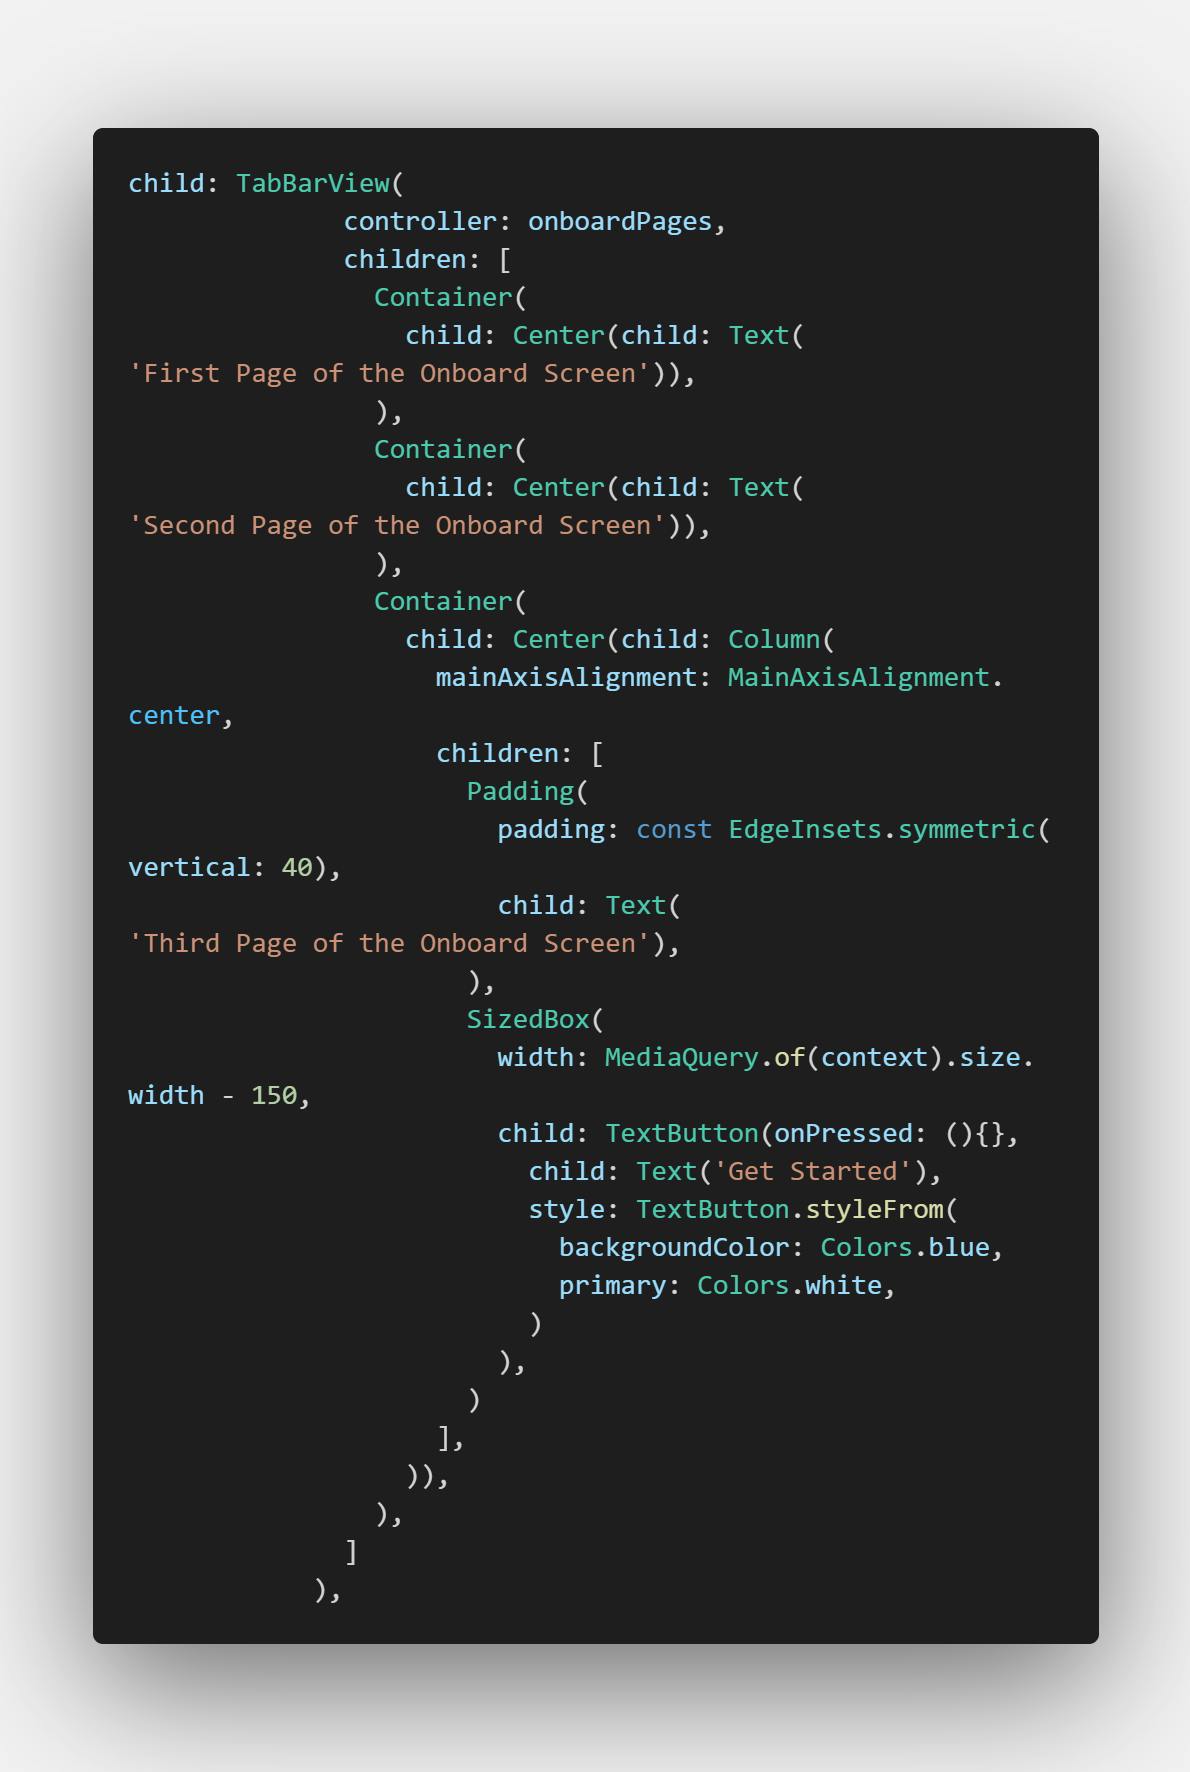
We simply add our controller and then create the children of the onboarding screen.
Note: since we have already defined our length to be three, you are only allowed to supply three widgets in the children section. Putting above 3 or below three will cause a red screen error telling you that you have excess or less than required length
You can see three containers inside the children although the containers themselves have other widgets in them, The container will be considered as the parent children.
The best analogy to explain what is happening here is that i have a room for rent and you come to rent it, whether you choose to sublet it or bring other people to yourself, it doesn't concern me, all i know is i have rented the place.
In the same way children only considers the three containers as the main widget, it doesnt concern itself with what else the container carries
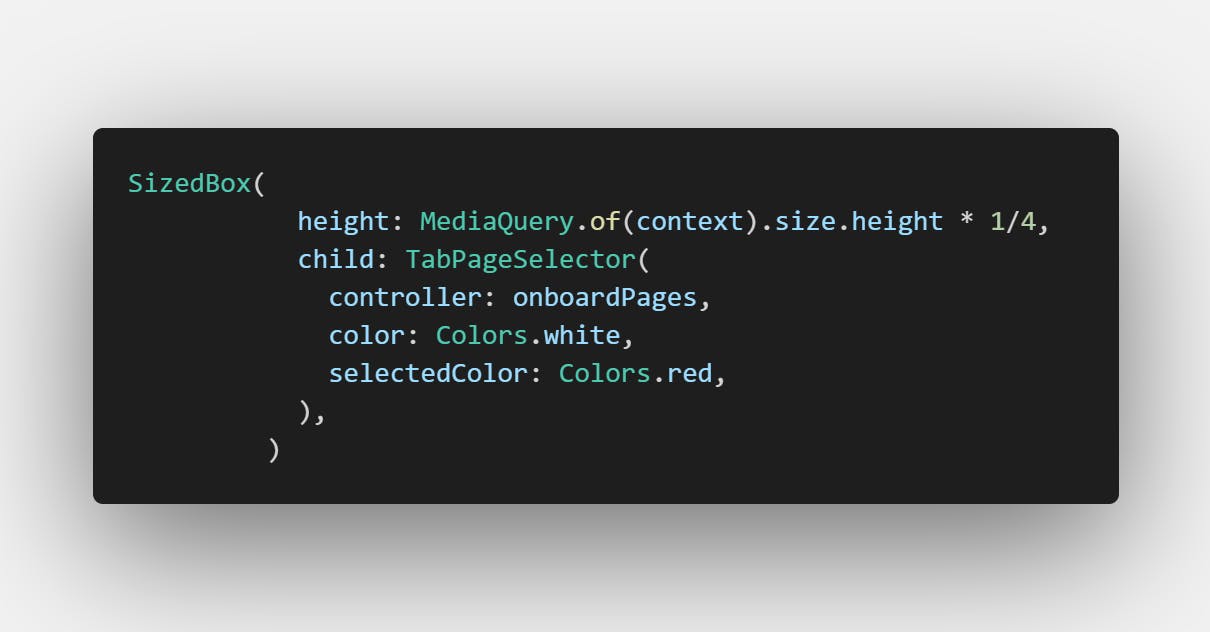
- Then a list of dots at the botton showing the progress level or how far we have gone in the onbaording screen
there is one thing i forgot to add which is the indicator size. the indicator size will either increase or decrease the size of the circle below
the code below is written underneath the tabview code so that the circles are shown below the content of the onboarding page
i will like to thank you for giving this article a read, i am interested in your opinions and what you think or any feedbacks you would like to give about the blog and the series in general
For any further question or contributions on what you would like me to add to the series please leave a comment below

All comments will be appreciated.
if you can't leave a comment because you dont have an account on Hashnode, you can write me an email with the Subject "The Flutter Series" at collinscodes@gmail.com
Thank You and i hope you enjoyed this blog series as we go on.